February 19, 2011

Watch Rendering on Sketchbook Pro


Sketchbook Pro and Cintiq


I started out by sketching on marker paper using markers, color pencils, and pastels

Then I scanned it onto the computer and started rendering.

Adding details
And background


Rendering Practice on Cintiq with Sketchbook Pro


Practicing reflections and shadows.

December 15, 2010

Bottle Design


For this assignment, we used vacuum forming to create a bottle.


First, I got two blocks of balsa wood and clamped it together over night with wood glue.


Then I used a lathe to create that bottle shape.


After an hour, this is what've I got.


Then I got a sheet of PETG and vacuum formed it. 


Then, I stated on designing on how my bottle will look like.


I cut the excess plastics off and sanded the edges. I then glued the two pieces together using acrylic solvent. I then pour black paint into the bottle and shook it to perserve the glossy feel on the outside.

Roto Molded Stool


This Project was to create a furniture out of rotational molding. I decided on making a stool :)
However, the assignment is to create it so that it looks like it's roto molded, but can be made out of any material.


As usual, I used my favorite material styrene. Then I filled it with foam filler and blue foam so that the stool can be dense enough to sit on.


After creating two stools, I painted them in pastel pink and sky blue and bought back drops that match with them. 


I used my friends to model for me. I also used a Canon XSI with a 24-105mm lens.
Special thanks to Susan and Daewon for helping me!

November 3, 2010

Alarm Clock 2


After the 1st alarm clock. The next assignment was to improve our clock design based on the reviews from our peers.


Processes


As usual, I used styrene to shape my pieces.


October 20, 2010

Alarm Clock


For my 1st major project at Pratt was to create an alarm clock. I am still organizing and editing my stuff, so I will re-update later for more pictures and information.

I first started out my sketching some models out of thin plexiglass and then taping the boarders around it to create the frame.
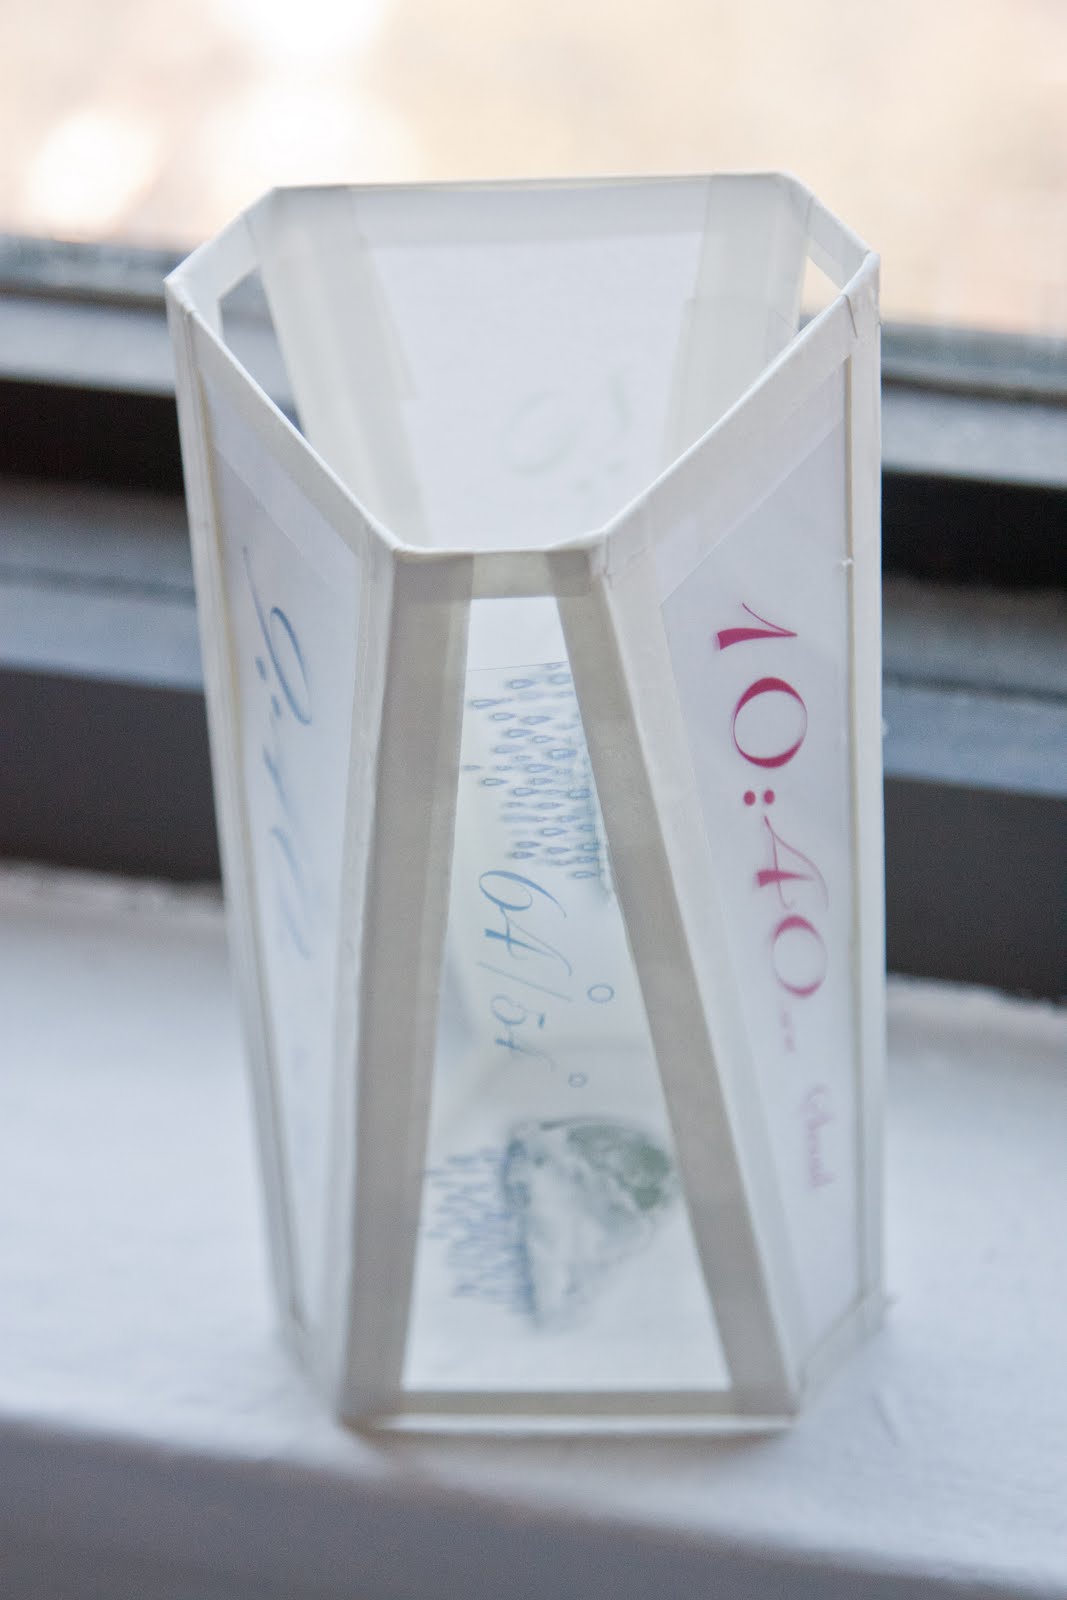

I later printed out images on acetate to create a clear screen.

I started making my project out of styrene sheets. I laser cut them so the measurements came out correctly. I used Tenex to glue the parts together and then sand the surface lightly so I can prime it.


This is the result after priming.


After the prime, I cut thick clear acrylic sheets to create the glass of my alarm clock. I used the bandsaw and the sander to adjust the fit.

I then labeled all the glass and the sides with numbers so that I won't misfit them later on.


After the glass fitting. I used water based spray paint to paint my clock in rose gold.
Another fitting after the paint.


For the buttons, I used an old paint bottle and painted it pearl white.


I will update my other final pictures later :)